Reverse engineering
CAV full size inspection
To meet consumer demands for product performance and appearance, manufacturing engineers design and manufacture many surfaces with high accuracy and complex shapes, such as Class A surfaces. At the same time, the surface presents a challenge (low detection accuracy) to the traditional inspection tools, especially when measuring the surface size that cannot meet the practical requirements of time and operability. Existing contact inspection methods meet the needs of a variety of materials and require alternative dimensional inspection solutions.
Operating principle
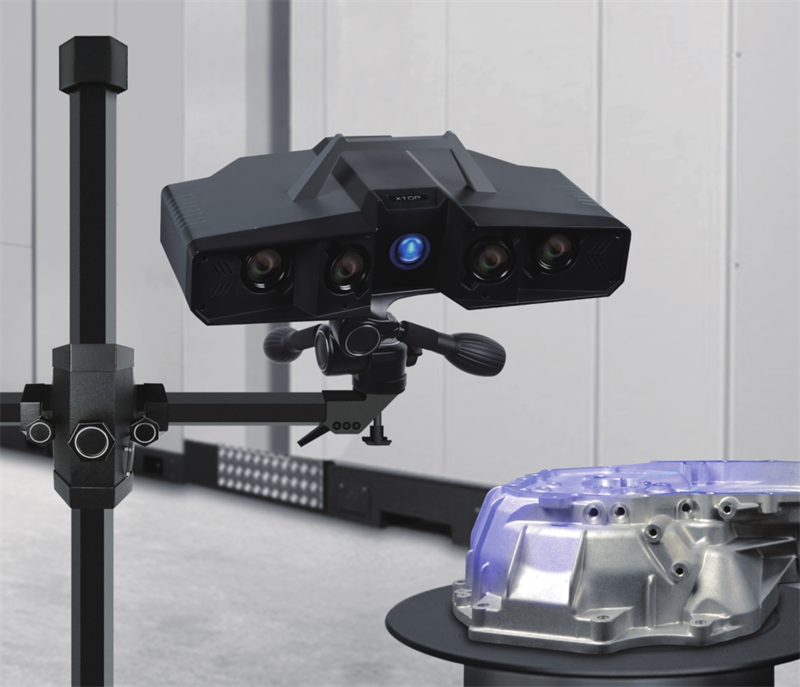
CAV (Computer Aided Verification) comprehensive inspection, also known as global inspection, is especially suitable for 3D inspection of parts with many free surfaces and complex product structures. Using a 3D scanner and professional 3D inspection software, scan the parts to be inspected locally or in all directions, compare the acquired accurate point cloud data with the CAD files of the original design, and compare color error codes. Generate the created map visually. The inspection report helps to quickly and effectively identify errors between the parts and CAD and other analyses.
Project value
1. Reduce human error
Direct measurement of CAD data minimizes human error and speeds up the sizing process.
2. Improve production efficiency
Professional inspection software makes multi-part inspections as easy as single-part inspections, and the software automatically repeats the entire inspection process.
3. More flexible detection
Each parameter of the test is recorded in it, so if any step in the test program changes, the test software will automatically update all relevant steps.
Application field
Car shipping
Aeronautics and astronautics
Consumer electronics
Mould manufacturing
